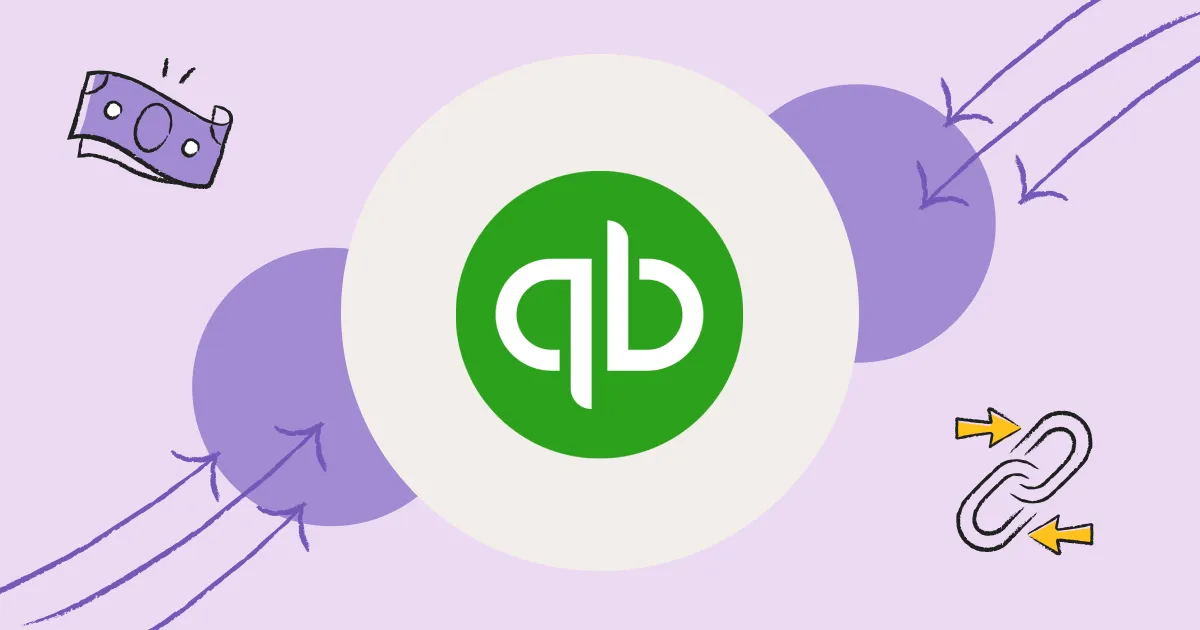
Get Paid Faster with Text-to-Pay & QuickBooks Online Invoicing
Sync MessageDesk with QuickBooks Online to automate invoicing, payments, contact record updates and more.


Get paid with texts triggered by QuickBooks Online.
Automation makes it easier for you to get paid faster and on time. Use text-to-pay to send links to QuickBooks Online invoices.
Update contact lists and groups with Zapier.
Make your QuickBooks Online customer info actionable by syncing full contact profiles and invoice and payment info.

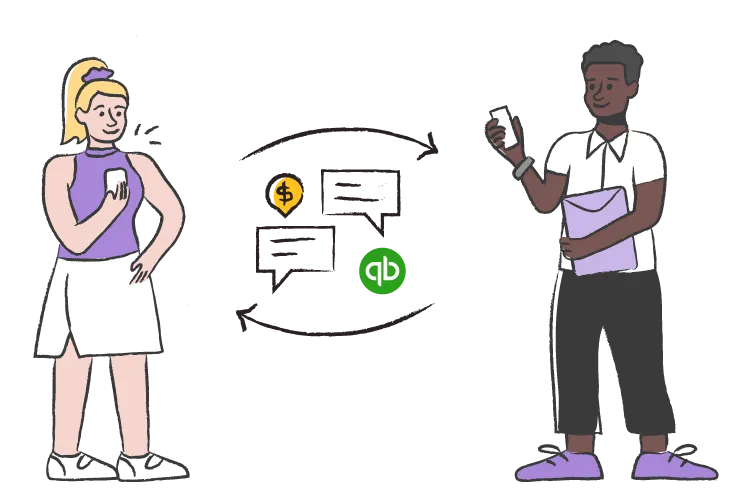
Automate invoice reminders and follow-ups with text-to-pay.
Use MessageDesk tags and message templates to automatically insert links to invoices with personalized contact information like:
- {{ FirstName }}
- {{ InvoiceBalance }}
- {{ InvoiceDueDate }}
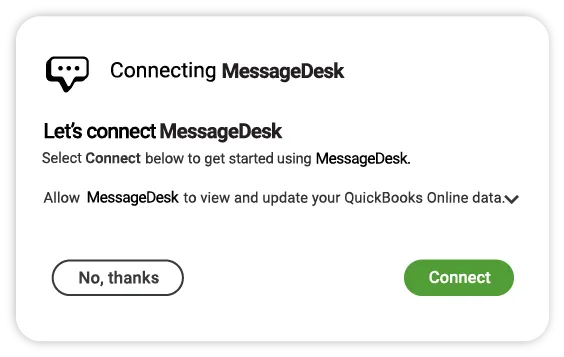
How to integrate QuickBooks Online and MessageDesk
1. Sign in to MessageDesk using your Intuit Account.

2. Select QuickBooks Online as your data provider.
3. Confirm and authorize MessageDesk to connect to your QuickBooks Online account.
4. MessageDesk will send you an in-app notification once your data sync is complete.
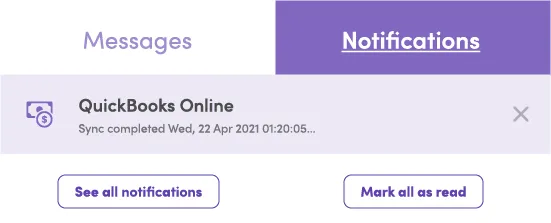
5. Once your sync completes, you'll see your customers in MessageDesk.
About QuickBooks Online
QuickBooks Online is the number-one small business accounting software.
- From tracking everyday expenses to being ready for tax time, QuickBooks can help you run your business smarter from anywhere you’re working.
- View all your money in and out so you can plan for the future. With a built-in 1.00% APY earning bank account, you can easily access and grow your money at the same time.
- Send invoices with a Pay Now button, and accept credit cards, debit cards, and ACH bank transfer payments on the go, on any device.
- When you’re paid, QuickBooks automatically organizes it so your books are balanced at tax time and year-round.
About MessageDesk
MessageDesk is a smarter, simpler business text messaging application.
- Keep connected to your contacts and customers from any device. Send text messages from your desktop, tablet, or mobile phone using our native iOS and Android Apps.
- Sync your QuickBooks Online contacts and invoices in real-time for the most up-to-date customer information.
- MessageDesk makes it easy to see which invoices are open and who needs reminding for payment collection.
- Send a Broadcast to groups of contacts without "reply-all". It's like "BCC" for text messaging.
- Once a contact responds, go to the MessageDesk Inbox for 1-on-1 text messaging and instant replies.
Additional business texting resources.
Check out these additional integration resources

Business Text Messaging | 8 Best Business Texting Services
How to Send Invoices + Payment Reminder Texts & Emails